Wednesday, September 19, 2012

It's In & Working!!

The new microwave came yesterday.  Home Depot gave me a delivery window of 4 hours - they arrived in the last half hour.  It seems the more you want something the longer it takes to get it.  Anyway, my handyman of a husband installed it for me and it's perfect!


The first thing I heated up in the brand spanking new microwave was my omelet muffins.  They are so good, keep well in either the fridge or the freezer (for longer storing) and most importantly - really easy to make. 
 
 
This picture does not do these muffins justice!! 


Omelet Muffins:


Ingredients

  • 2 pieces of bread - torn
  • 6 large eggs - beaten
  • 2 Tbsp milk
  • Anything you prefer in your omelet (ham, green pepper, mushroom, onion) approx. 1/4 cup total
  • 1/2 cup shredded cheese - your choice 

Instructions

  1. Preheat oven to 350F. Coat muffin tin with cooking spray - unless you use a silicone pan.
  2. Place a few pieces of the torn bread into the bottom of the muffin pan.
  3. Beat eggs and milk together in a medium bowl.
  4. Add all omelet ingredients.
  5. Pour about 1/4 cup of egg mixture onto the bread in the muffin tin.
  6. Bake in oven until the egg mixture is set, about 15 - 20 min.
  7. Remove from oven and let sit about 5 minutes before serving.
Tip:

These can be frozen - just put them in the fridge the night before.  The next morning microwave until warm. 


We love to eat these with Franks RedHot Sauce (even the kids prefer it that way)!  That's why the sauce gets to be in the picture :)  Super simple to whip up and I get to take my shower during the 20 min. the eggs are baking - what more could you ask for?


Ava's big job:

This weekend we have a bridal shower to attend.  Ava's excited because she gets to be a flower girl - again.  This is her third - yes 3rd - time she gets the honor of being the cutest little girl at the wedding!  The last two weddings Ava's dress was white - this time it's purple.   


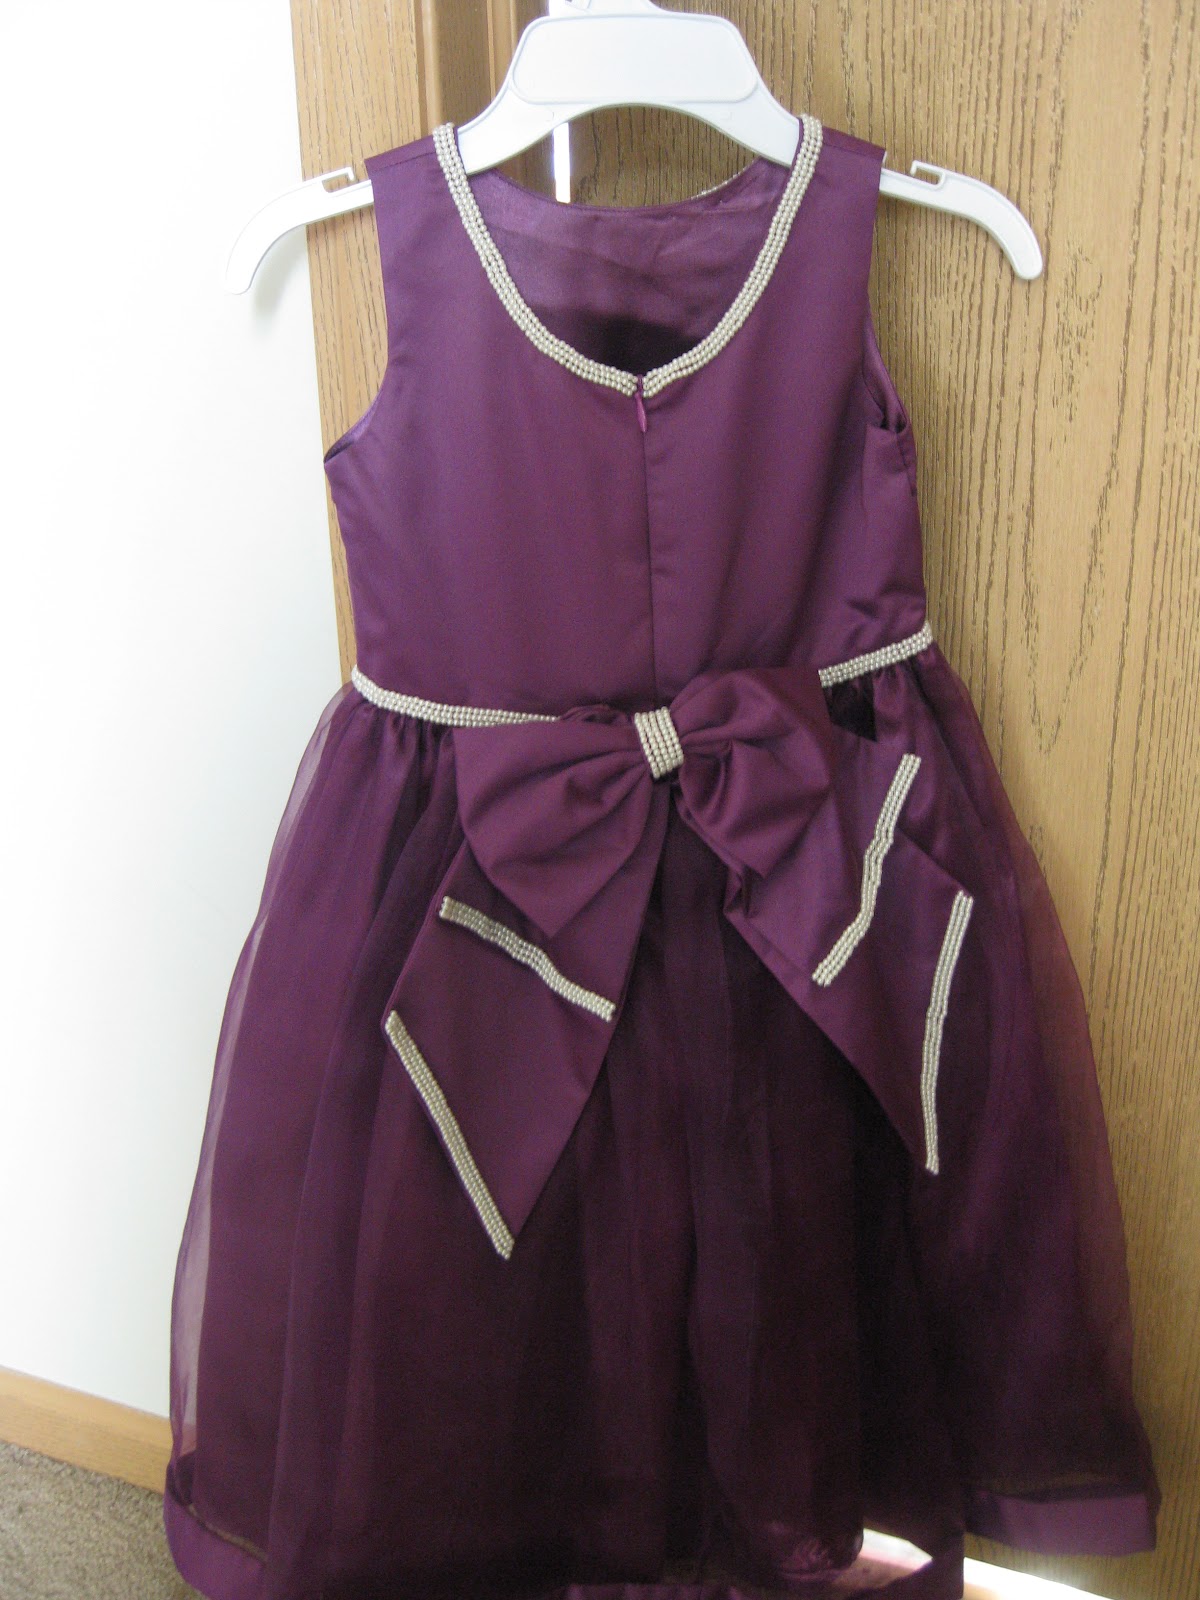
It is much prettier on.  We also bought little pearl flower hair twist - they are really cool.  The twists look like springs that you just twist into the hair and all you see when you're done is the pretty little flower.  I tried to get a good picture of them but I don't have a great camera so here's a similar picture (Ava's are all pearl with the 'diamond' in the middle):


Cute -right?  I am not good at doing hair - even though I do follow an awesome blog about beauty and hair : http://www.thesmallthingsblog.com/.  I will not be doing Ava's hair for the wedding.  Last time Mike's cousin did Ava's hair and she did a wonderful job!  So that's the plan - if you can't do it yourself find someone to help you. 

I need to go out and enjoy this beautiful fall day.  I think I'm gong to take my little guy for a quick run before Ava gets home from school.    

Tuesday, September 18, 2012

Delivery Day!!

When we moved into this house there was a small very inexpensive hood over our stove.  Not really what I would like to have seen.  I wanted a microwave there instead.  We planned on purchasing a microwave right away, but - you may have guessed it - we didn't.  My grandparents gave us a counter top microwave for our wedding shower and we figured we would just use that one until it didn't work anymore.  Well, it took 8 years but it finally died - hooray!!  Today is the big day our new over the range microwave is coming.  It's funny though, I figured 'oh we don't use the micro much so when ever they can deliver is fine.' Well much to my surprise, I do use it a lot so I'm very excited that today is delivery day.

Right now this is how the kitchen looks...


Awaiting the arrival of the newest kitchen appliance..


In the mean time, I made one of my favorite salad dressings today.  My mom used to make this dressing when I was little, I guess I kind of forgot about it until a few months ago.  Now it's at the top of my list!


You can buy the packets individually or you can buy 2 and get the carafe for free.  I definitely suggest getting the carafe it has all the measurements right on it so you don't need anything else.  That's what I love, no extra measuring spoons/cups to clean.    
 
Red Wine Vinaigrette:
 
  1. Fill red wine vinegar to the "v" line on the bottle.
  2. Fill water to the "w" line.
  3. Add the seasoning packet.
  4. Close the lid and shake to mix.
  5. Finally add the olive oil to the "o" line on the carafe and shake.
How simple is that?  Quick and easy with no clean up, plus the taste of homemade salad dressing.  P.S. you can use any vinegar you like.
 
Now, off to making my chocolate zucchini muffins, hopefully before the delivery men come! 
 
Chocolate Zucchini Muffins
 
Ingredients:
 
1 3/4 cups sugar
1/2 cup softened butter
1/2 cup oil
2 eggs (room temp)
1 Tbs vanilla
1/2 cup buttermilk*
2 cups shredded zucchini
2 1/2 cups flour
1/4 cup cocoa
1 tsp baking soda
1/2 tsp salt
1/2 tsp cinnamon
1/2 cup chocolate chips (sometimes I use more depends how I feel that day :)
    *buttermilk can be made by adding a bit of white vinegar to milk*
    (in this case about 1/2 tablespoon to 1/2 c. milk - I use whole milk)
     
Tip:
 
By the way I don't usually have room temp. eggs I just find they work so well when mixing.  What I do is put the eggs in a bowl in the sink and let hot water run over them (slowly) until I finish getting the rest of the ingredients out!


Directions:
  1. Preheat oven to 325F.
  2. Mix butter, oil and sugar until white and creamy.
  3. Meanwhile, mix together flour, cocoa, baking soda, salt and cinnamon.
  4. Add eggs mix well.
  5. Add vanilla and buttermilk.
  6. Slowly add the dry ingredients to the wet.  Don't over mix!
  7. Add the zucchini and chocolate chip mixing by hand.
  8. Fill in muffin tins - you may need to grease.  (I use a silicone muffin pan - no greasing necessary)
  9. Bake for approx. 25 min or until toothpick comes out clean.
 
 
I hope you enjoy these muffins as much as my kids do.  It's a great way to get your kiddies to eat their veggies!!


Monday, September 17, 2012

Ava's 6th Birthday!

I cannot believe my baby girl is already 6 years old.  I feel like it was yesterday when I was holding her in my arms.  Boy does time fly!


Ava wanted an under the sea party.  Well actually she originally started with a mermaid birthday party.  I always make the invitations for the kids parties, so like usual I made her a mermaid invitation - I think it turned out really cute don't you?


After I thought I was finished with the invitations, Ava saw a fishy one she wanted.  So, that's how her party became an under the sea party.  I think this invitation is cute too plus my beautiful little girl gets to be on the card. 


I made an octopus pinata for the kids.  Every party we have a pinata and every time I make it.  I can't see spending $15 or more for something so simple and inexpensive to make.  All it takes is a balloon, paper mache paste and strips of newspaper.  That's it - how cheap is that.  Plus you (and if you dare the kids) can get messy - it could be therapeutic - right?
 
Paper Mache Paste:
 
  • 1 part flour to 5 parts water
  • boil about 3 minutes stirring as it thickens
  • let cool
This is the best way to do it, quick, easy and super smooth.
 
 Tips:
 
  • Only cover with no more than 4 layers of paper.
  • On the last layer use white printer paper (this makes it much easier to paint).
  • Let it dry completely before letting air out of balloon.
  • Always let air out very slowly (use a pin to poke a small hole).
 
For hanging:
  1. Tie a loop of string to a paper clip.
  2. Tape the paper clip onto the balloon before you start maching.
  3. Mache over top of the paper clip.
  4. Make sure not to mache over the string.
These instructions were adapted from: http://www.dltk-kids.com/type/how_to_paper_mache.htm

I used green - like a lime green - colored tissue paper torn into squares and glued all over.  Then I printed out eyes and a smile and glued them right on.  For the 8 legs/arms I took a short cut and used crepe paper cut into 8 pieces and glued onto the bottom.  Simple, easy and effective.   

I love to fill the pinata with candies I know the kids love.  Usually we have a mix of tootsie rolls, dum dums suckers, starburst (individually wrapped) basically anything that is wrapped!  Fun and yummy too!! 

Ava had lots of fun at her party.  Now Mikey is trying to get me to start planning his party.  I think not - his birthday isn't until March.  I have six months, but you all know I'll start planning right after the holidays!!